Once a file/ form has been uploaded, it can be referenced by the system. Note - if you have your own web accessible source of files, that can be used in lieu of the file upload.
Here is an example of uploaded files:
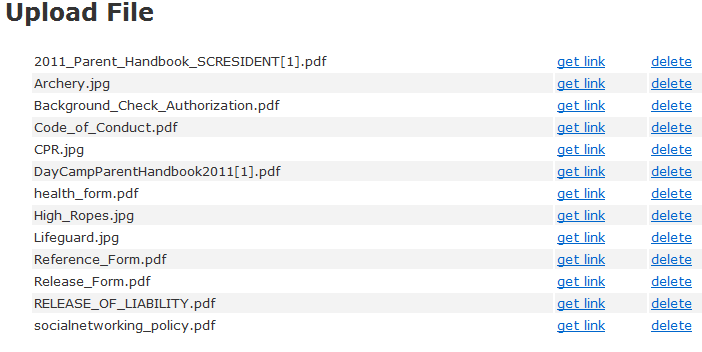
You will note that each file has a get link. When you click that link you will be given a web address for that file:

This link can be copied - highlight the link, right click the highlighted link and choose copy. It can then be included as a downloadable item on a confirmation or can be included in any of the descriptive areas of your forms. Here is an example of pasting the link into your email confirmation:
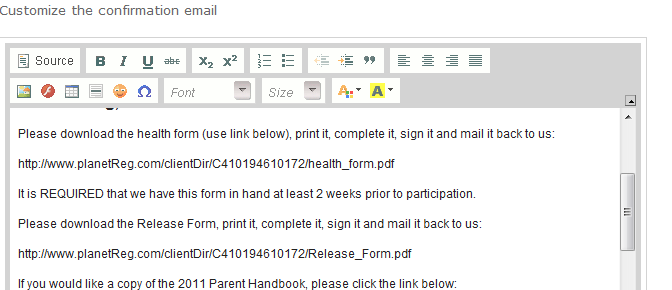
You can also imbed the file - normally a pdf format file - in text areas by clicking on the Source option in the edit panel.
An example using the Registration details section:

To insert the link and have it available as a 'pop up' in a separate browser window:
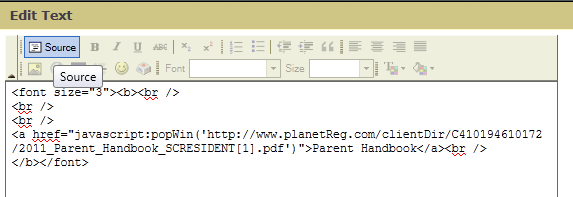
The code you need to insert:
<a href="javascript:popWin(' ----link goes here ---')">Description of link here</a><br />
Note - this 'pop up' only works when your text is under the control of a browser - i.e. Internet Explorer, Firefox, etc.
It does not work in an email.
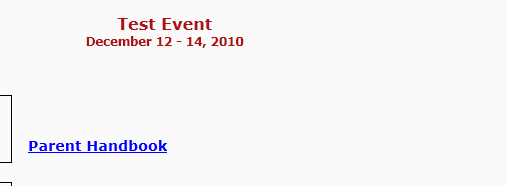
This will cause a pop up of the parent handbook in a new browser window and it will look like this:
To accomplish a similar pop up window in your confirmation email, you also need to expose the source and insert a bit of html coding:

In this case you are inserting:
<a href=" ---- link goes here ----" target="_new">--description of download--</a>
You can also include additional graphics in your text areas:

We have downloaded a graphic of an archer and want to include it in our event details section:
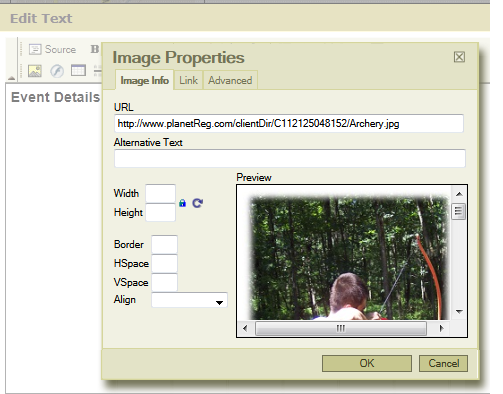
We start by choosing the insert image icon:

The dialogue box asks for a link - and we have copied the link from our 'get link' action:
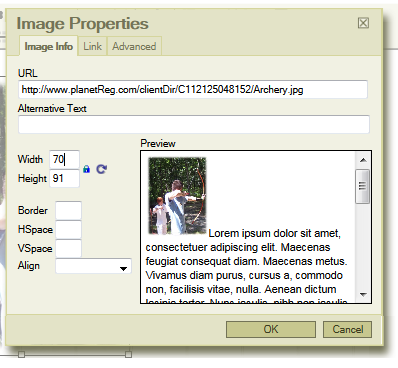
You may also change the size of the image by altering the width or height - enter the number of pixels:
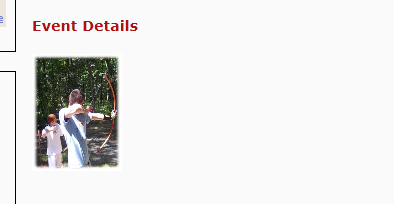
The final result:
.
See also